How to install your new VentMat 2.0
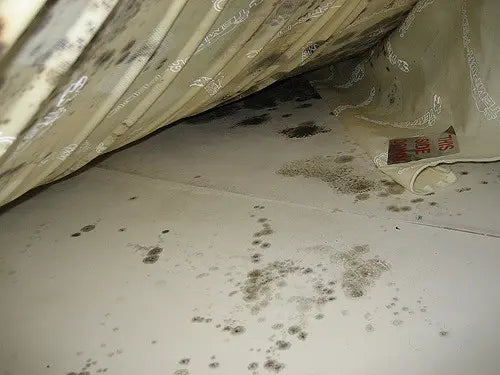
Follow the illustrated steps below to start using your new VentMat Advanced Airflow Padto reduce condensation under your mattress.

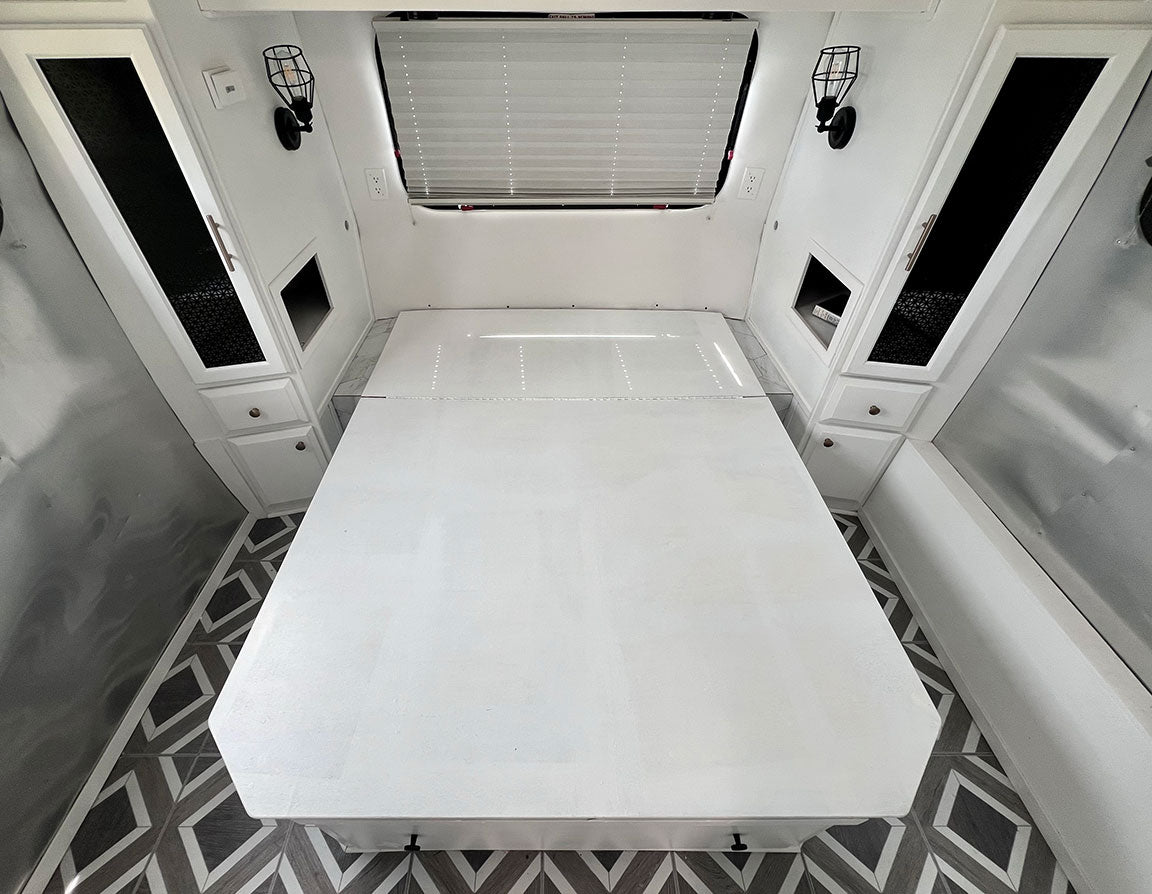
1. Prepare your sleeping platform
Clean the sleeping platform in your RV, Camper, Boat, or at Home to ensure no dirt or contaminants are present. This will allow VentMat to operate efficiently.
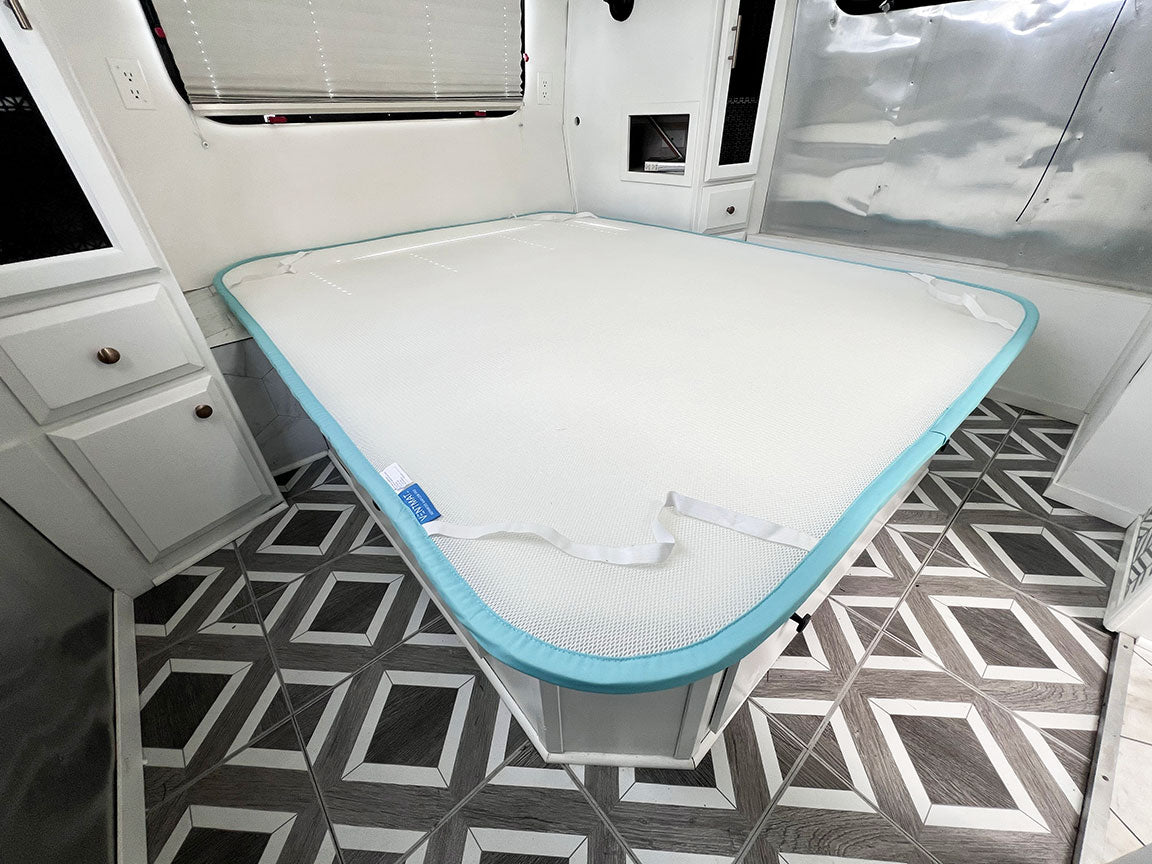
2. Place your VentMat
Unroll your VentMat mattress underlay on your sleeping platform with the mattress retention straps facing upward. Be sure there are no wrinkles, folds, or other obstructions that would prevent the mattress from laying flat on your VentMat.
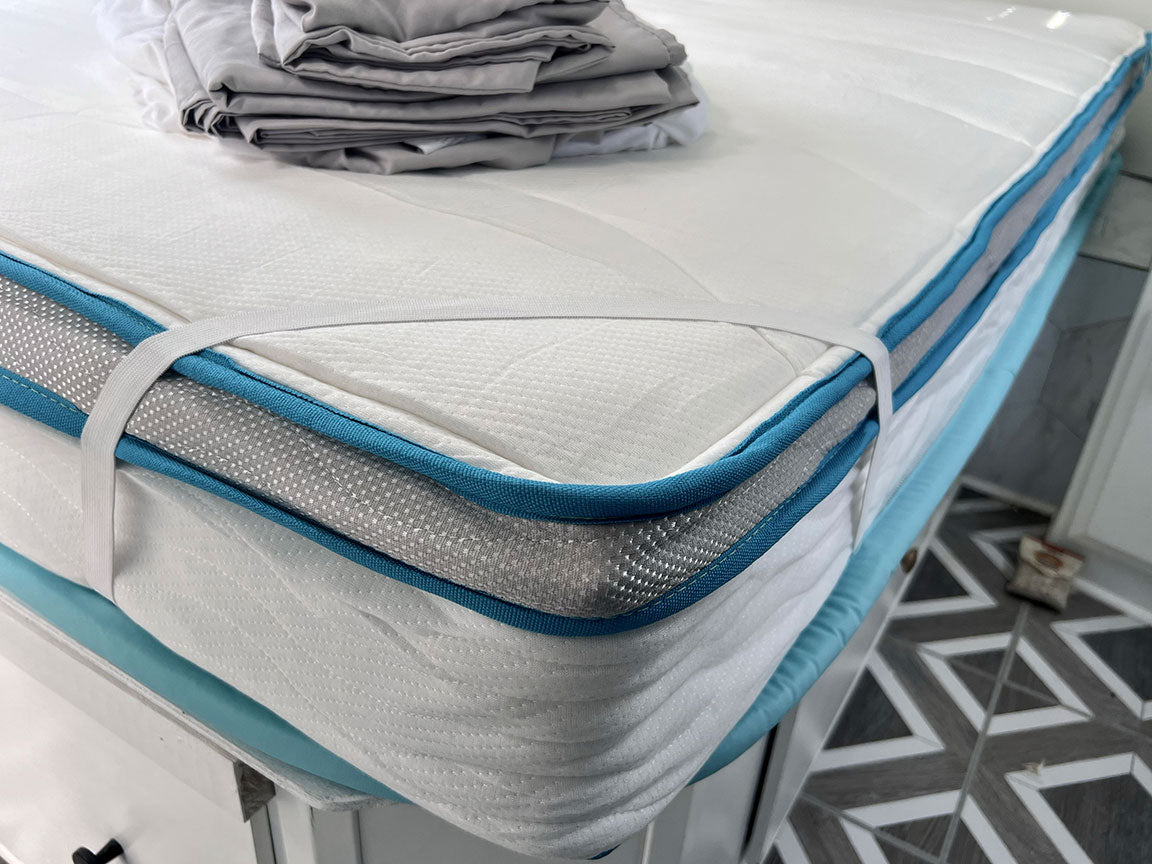
3. Place your mattress
Gently lay your RV, Camper, Boat, or Home mattress on top of your VentMat, aligning the outside edges and corners. You may then use the optional mattress retention straps to keep the VentMat centered and prevent shifting under your mattress. The corners of your VentMat are specifically designed to hide under your mattress to prevent folding or bunching of your fitted sheet or mattress protector.
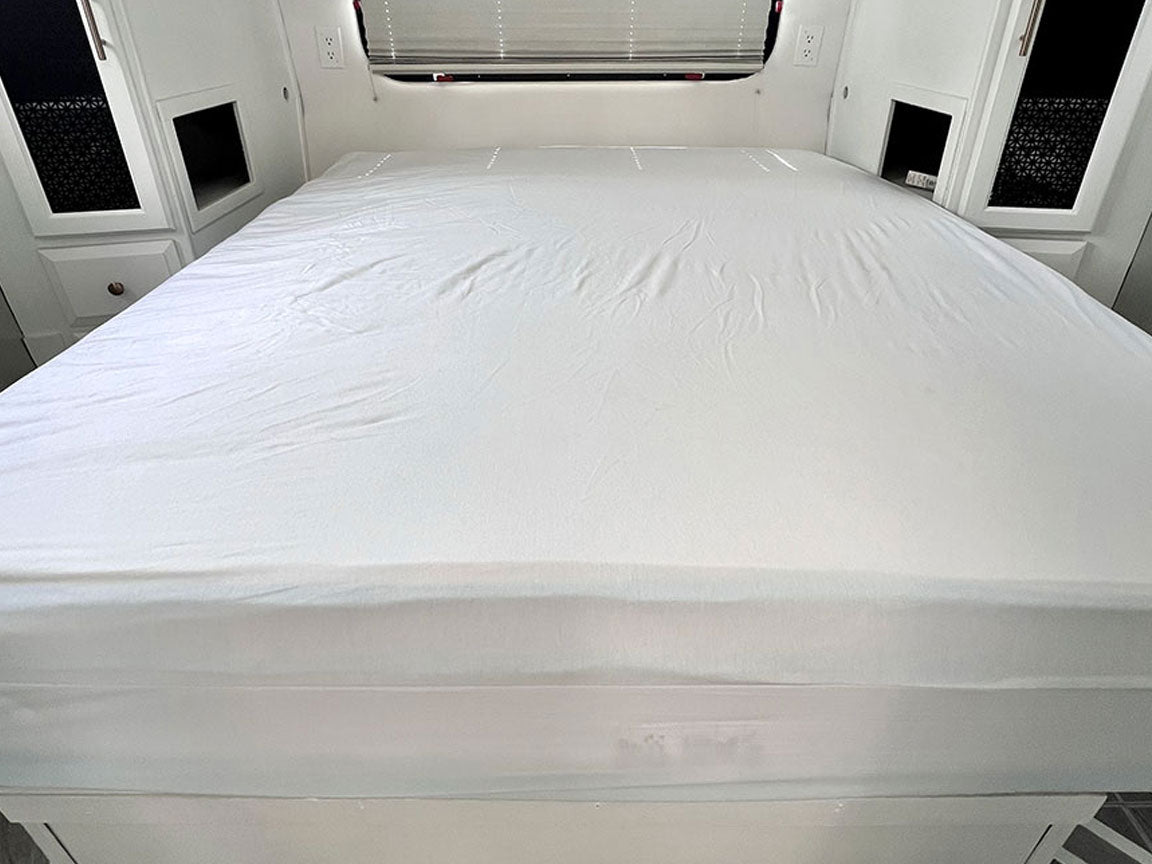
4. Make your bed as usual
Once your VentMat anti-condensation pad is securely centered below your mattress, simply make your bed as usual. If you use a protective mattress cover, be sure that it is secured under your VentMat along the sides and corners.

YOU'RE DONE!
You can now sleep comfortably and confidently knowing that your mattress will not mold or mildew due to unwanted condensation buildup. You do not need to wash, rotate, flip, or otherwise worry about your VentMat unless it is damaged. If you spill on your VentMat, simply remove, spot clean as necessary with mild detergent and a sponge, allow it to dry flat, and reinstall.
Contact us
Have a question, or want a product recommendation? Get in touch.


